How to Create Your Own Icons for your Instagram Stories Highlights in 10 Easy Steps!
Instagram recently introduced highlighted stories, which allow you to save stories to your bio page in an organized way. They stay up for as long as you want, not just 24 hours.
It's a pretty powerful feature for businesses! Story highlights mean you can instantly convey a ton of information about yourself and what you offer in a quick, attractive way to new visitors.
But story highlights can look messy quickly if you don't have clean looking cover photos for each one. Ever wonder how people get those cute little icons as the cover of their Instagram Stories Highlights?
It's super quick and easy - I'll lead you through it!
1. First, you'll need to sign up for Canva. If you're a creative business owner of any kind, Canva is a lifesaver! You can also use something like Adobe Spark, but for now, I'll stick to teaching you in Canva.
2. Once you've logged in to Canva, click on "Find Templates" on the right hand side.
3. Next, type "Instagram story" into the large search bar at the top of the page and tap Enter.
4. Now, click on any template, then click the "use this template" button on the upper right hand side. The design doesn't matter, since we're going to start from scratch, so any template is fine - we're just using it for size.
5. Now, click on the template and start deleting everything on it until you get a plain background.
6. Click on "Background" on the leftmost side bar. Your workspace should look something like this:
7. Choose a background (I used solid white). Next, Click on the "Elements" button on the leftmost side bar.
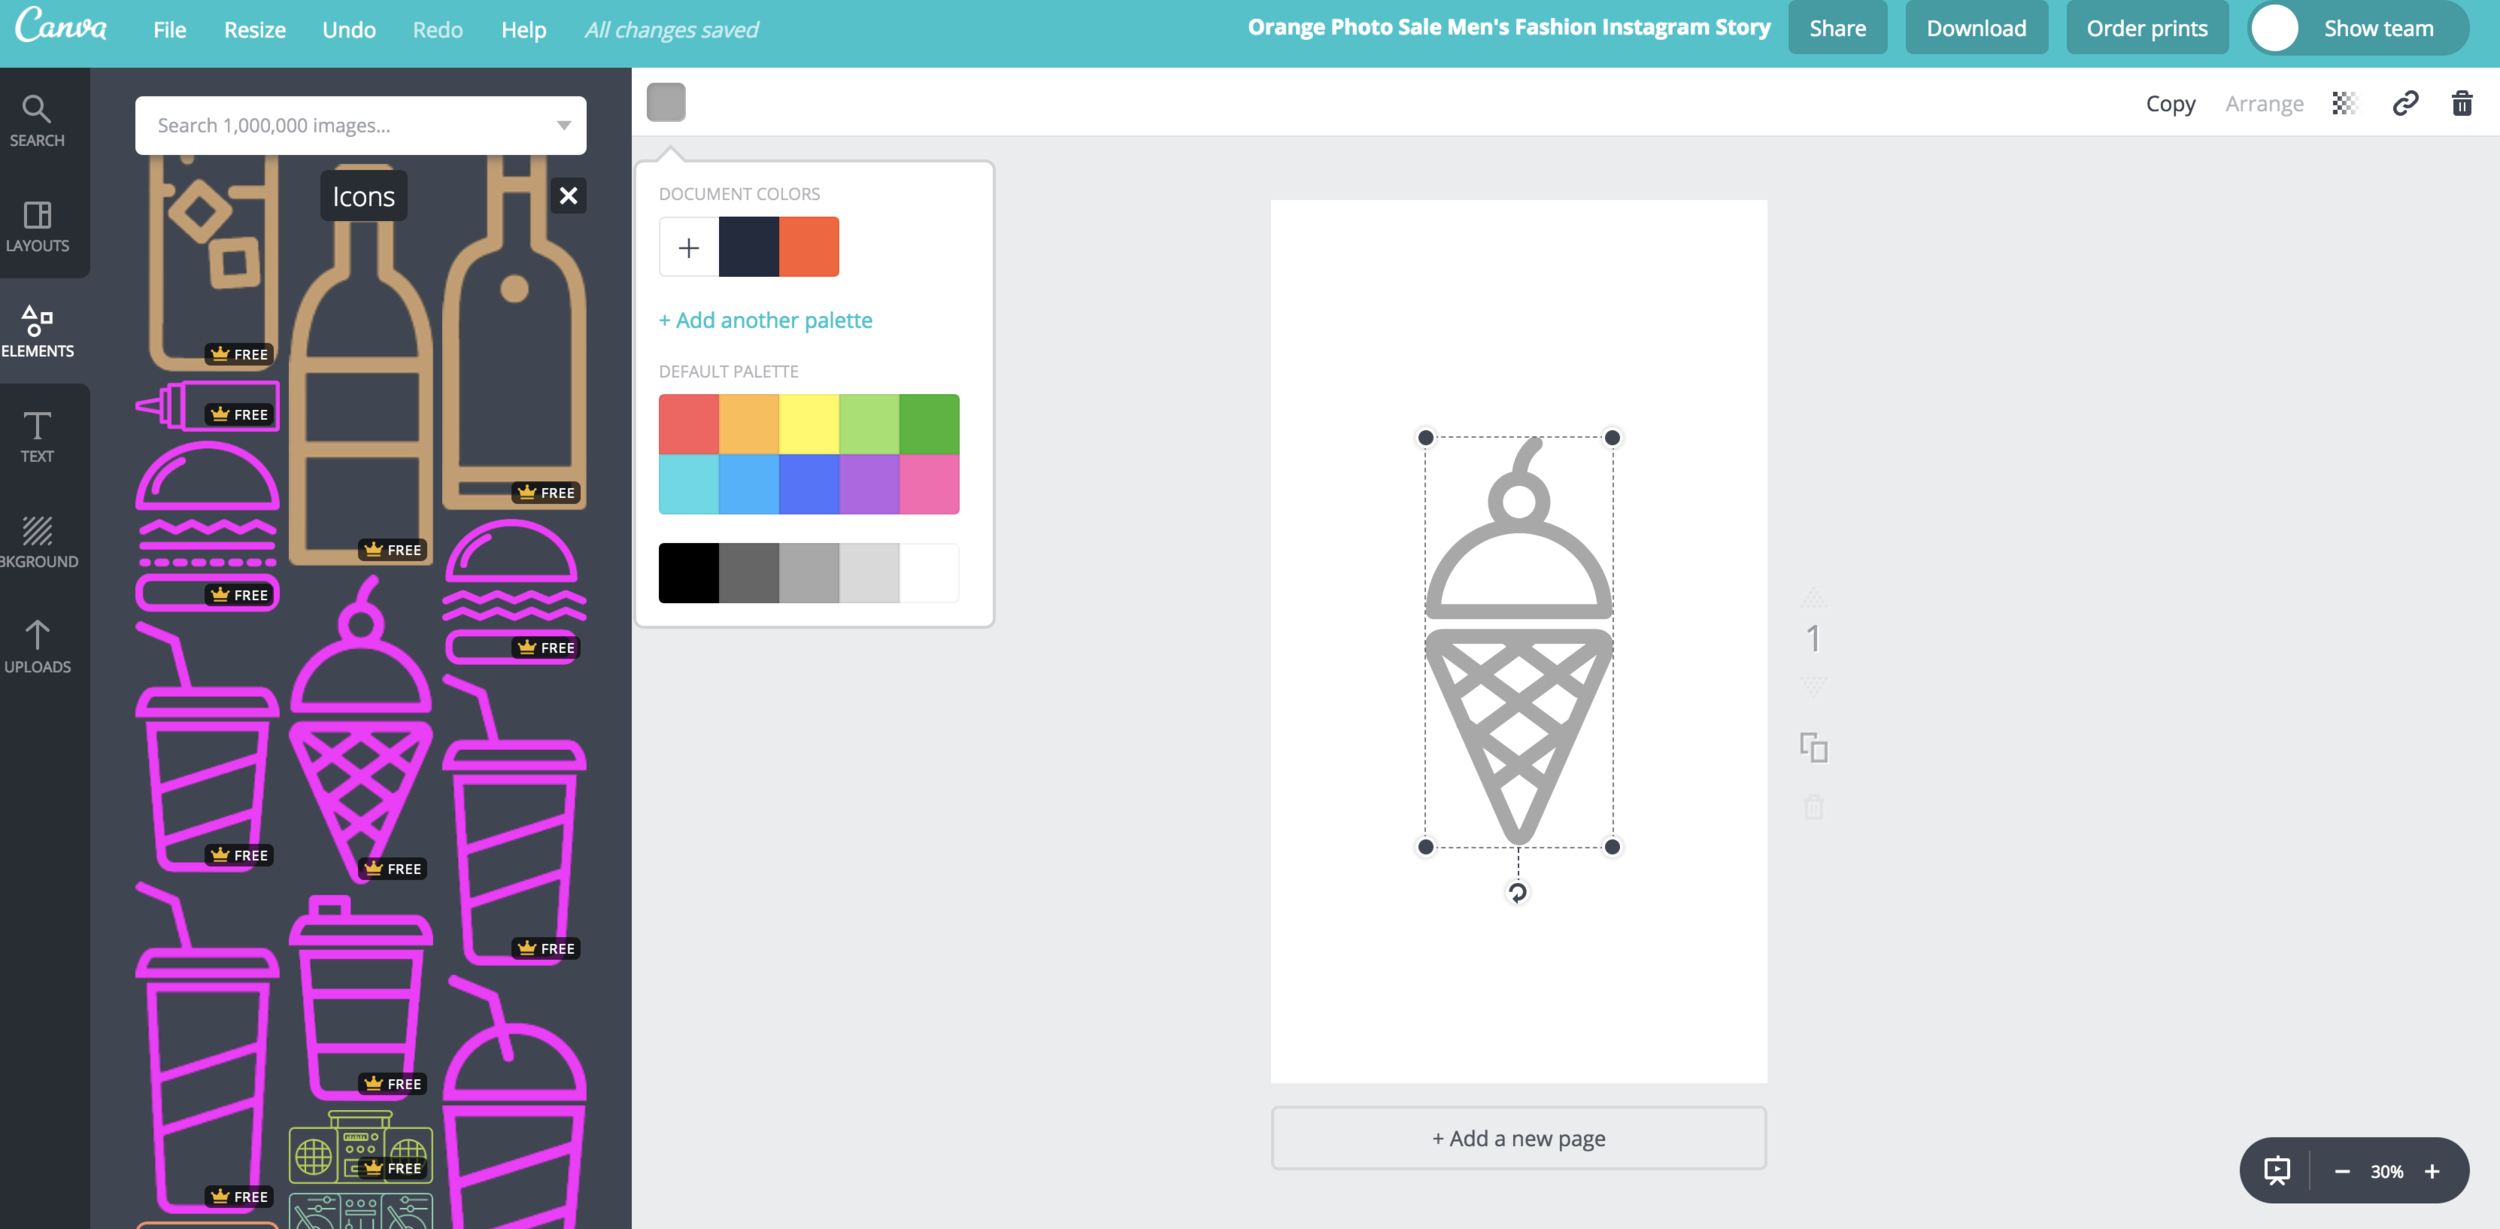
8. Here, you can choose Icons, and either scroll through or search for what you're looking for! Drag and drop whatever you choose onto the template and center it. Make it relatively large, with some space at the sides.
9. Now, you can add pages and continue adding more icons! You can also change the color of the icons using the color picker in the top left corner of the workspace.
10. Last, click "download" at the top. You can download one at a time or download all of the pages you've made as a zip file. That's it! You did it, woo!


